Sourdough Bread
**Please note this recipe needs to be started at least 6 days in advance!**
Bread has been the staple food of the human species for many thousands of years, and there’s something about tearing into a loaf of bread you’ve made yourself that stirs something primal within us and gives us a gigantic sense of achievement, not to mention sustenance and a happy tummy! Bread has had a bad press in recent years as ‘low carb’ diets have become more fashionable – but as long as it’s not slathered in butter and sugar-packed spreads, it’s a valid and wonderfully filling part of a healthy diet, especially when made with a good content of whole grains, such as the deeply-flavoured organic wholemeal rye flour we’ve used for this loaf.
Sourdough has really exploded in popularity in the last few years, and we’ve certainly caught the bug here! Sourdough bread contains no added yeast – it rises instead by harnessing the power of two crucial things: the natural yeasts already present in the flour, and time.
This is a perfect project for kids to help with – it’ll teach them a skill they’ll be able to use for the rest of their life, and ‘feeding the starter’ regularly will give them a wonderful project to curate, with the promise of the best toast in the world when it’s all done!
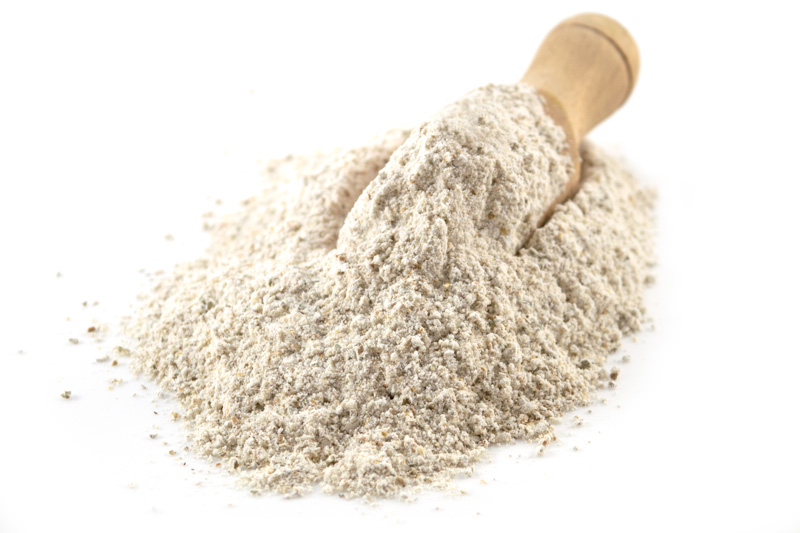
Organic Wholemeal Rye Flour 1kg (Sussex Wholefoods)
300g wholemeal rye flour (for the sourdough starter)
Strong White Bread Flour, Organic 1kg (Marriages)
600g Bread Flour
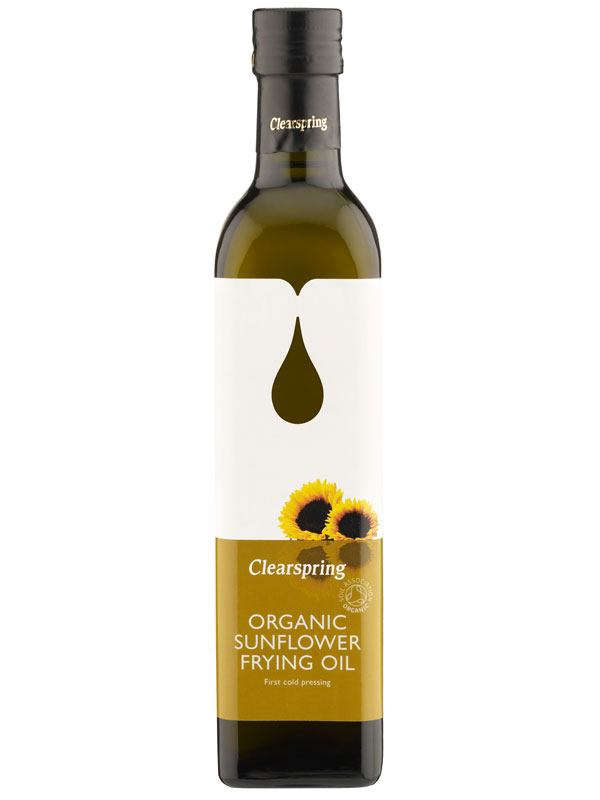
Sunflower Frying Oil, Organic 500ml (Clearspring)
a tiny bit of oil (optional)
Other Ingredients
- warm water
- ovenproof dish with a lid
Method
Make the sourdough starter (at least 6 days ahead of making your bread). From the 3rd day onward, you need to check your starter twice a day (every 12 hours). We checked ours at 7am and 7pm, but you can make yours according to your daily schedule.
- Day 1 at 19:00 – in a big jar (sterilised using boiling water), mix 60g flour with 60g warm water, stir using a wooden spoon, cover with a kitchen towel and leave to stand in a warm spot for 24 hours.
- Day 2 at 19:00 – Stir your starter using a wooden spoon, add 60g flour and 60g warm water, mix well, cover, and leave to stand in a warm spot.
- Day 3 at 7:00 – check your starter and if it’s very bubbly and reaching the top of your jar, give it a stir; at 19:00 – stir your starter using a wooden spoon, add 60g flour and 60g warm water, mix well, cover, and leave to stand in a warm spot.
- Day 4 at 7:00 – check your starter and if it’s very bubbly and reaching the top of your jar, give it a stir; at 19:00 – stir your starter using a wooden spoon, add 60g flour and 60g warm water, mix well, cover, and leave to stand in a warm spot.
- Day 5 at 7:00 – check your starter and if it’s very bubbly and reaching the top of your jar, give it a stir; at 19:00 – stir your starter using a wooden spoon, add 60g flour and 60g warm water, mix well, cover, and leave to stand in a warm spot.
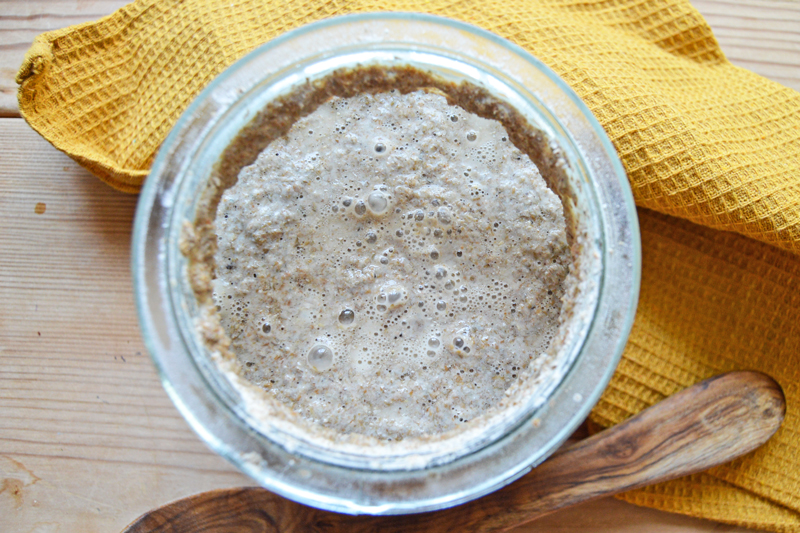
- Day 6 around midday – your starter is ready! It should have an acidy smell, thick cream consistency, and light brown colour. You should also notice air bubbles on the surface – see the photo. You can keep your starter for years – simply cover it with a cheesecloth or a kitchen towel, place it in the fridge and remember to feed it once every 1-2 weeks (60g flour and 60g water). If you want to use your starter again, take it out from the fridge, leave to stand for 2 hours, feed using the above quantities of flour and water, cover with a kitchen towel and leave in a warm spot for 10 hours.
Now it’s time to make your bread! You need 200g of your starter, 330ml warm water, and 600g flour+ 1tsp of salt.
- In a big bowl, add water then your starter, flour, and salt. Mix well using a wooden spoon.
- Work the dough with your hands (or add to the stand mixer and mix with a bread hook). Place the dough on a flour-covered surface, wet your hands lightly and start kneading it. Do this for around 10 minutes, until it’s no longer sticky and feels smooth and elastic.
- Place your dough in a bread basket sprinkled with flour. If you don’t own a bread basket, place a tea towel in a big bowl, generously sprinkle it with flour and pop the dough on top. Cover with another tea towel and eave in a warm place for 2 hours. To achieve better end results, fold your dough every 30 minutes – using your hands, gently fold by stretching the part of the dough from underneath and folding it in to the middle of the dough (4 folds, one from each side).
- Place the dough on a flour-covered surface and gently fold it again a couple of times, then shape it and put it in your bread basket. Sprinkle with flour, cover with a kitchen cloth and leave in a warm place for 2 hours.
- Oil your ovenproof dish lightly, put a lid on, and put it in the oven empty to heat up. Preheat your oven to 250C.
- Using oven gloves, remove the ovenproof dish from the oven, gently slide the bread dough into the dish, slash it on top with a sharp knife, put a lid on, and place it back in the oven. Lower the temperature to 235C and bake for 30 minutes. Lower the temperature to 200C, remove the lid and bake for further 15 minutes.
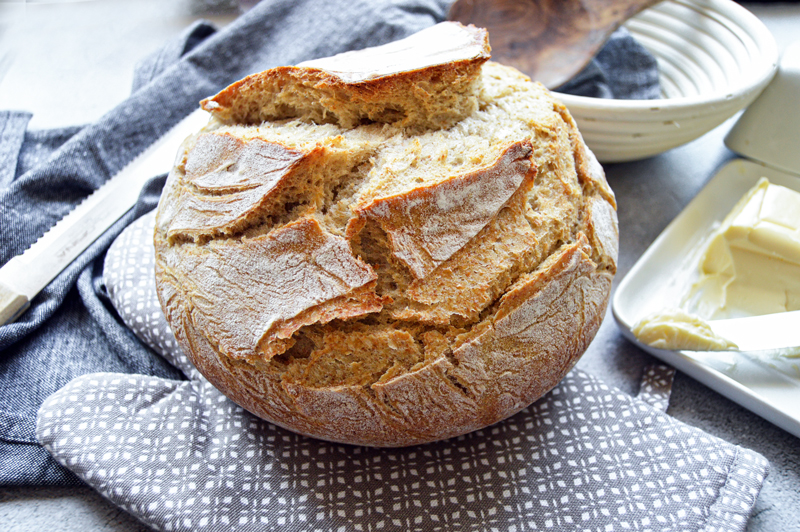
- Remove the dish from the oven, remove the loaf from it and leave it to cool on a rack. Don’t be tempted to dig in while it’s still hot!